Authored by Leland Jaffe DPM – Associate Dean and Professor
Creating a rubric involves defining clear criteria for assessing a task or project. Whether it’s for grading assignments, evaluating a presentation, or assessing a clinical/surgical skill, a rubric helps ensure consistency and fairness in evaluations. Rubrics can be utilized both for summative and formative assessments. This blog post will outline 10 important steps in developing a rubric for student assessment.
Let’s dive right in:
Step 1: Define the Purpose and Goals of a Rubric for Student Assessment
-
- Understand the purpose of the assessment. What do you want to achieve by using this rubric? What skills or criteria are you trying to measure?
Step 2: Identify the Task or Project
-
- Clearly define the task or project that will be assessed using the rubric. This could be a presentation, clinical or surgical skill, or projects/assignments.
Step 3: Determine the Criteria
-
- List the specific criteria that will be used to evaluate the task. These should be clear, specific, and relevant to the task at hand. For example, if you’re grading a presentation, criteria might include content, delivery, visual aids, etc.
Step 4: Define Levels of Performance
-
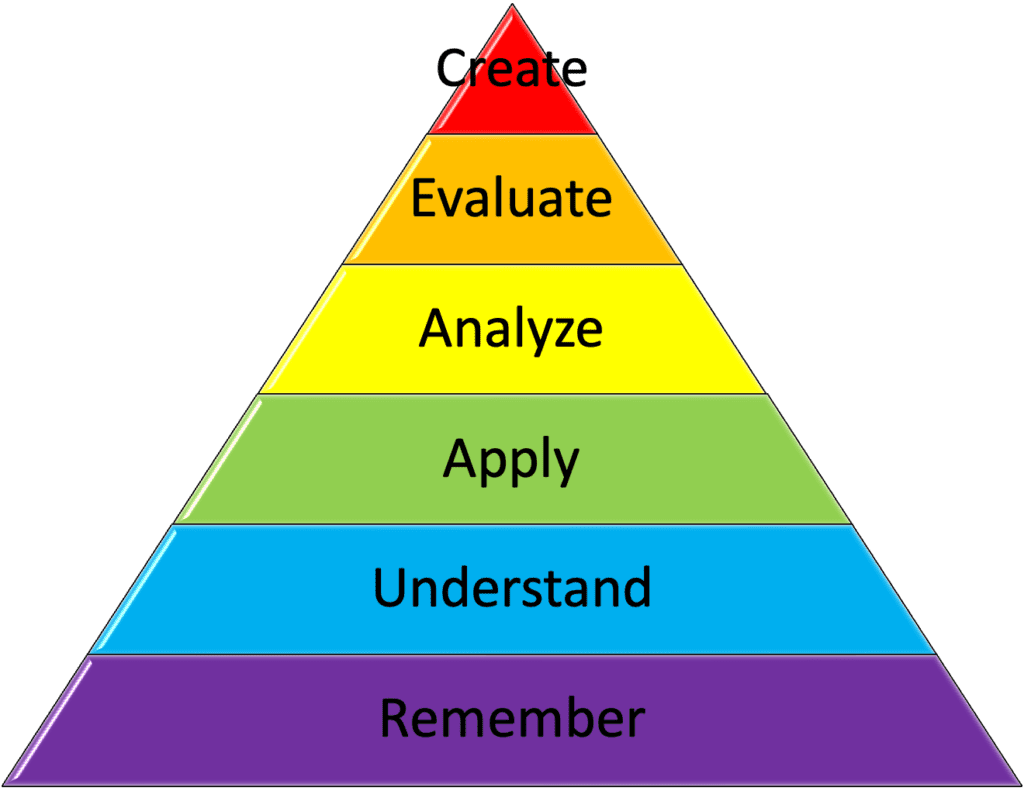
- Create a scale that represents different levels of performance for each criterion. Common scales include:
-
- Numeric Scale (e.g., 1-4 or 1-10): Assign a numerical value to each level of performance.
-
- Descriptive Scale (e.g., Excellent, Good, Fair, Poor): Use descriptive labels to represent different levels of performance.
-
- Qualitative Scale (e.g., Exemplary, Proficient, Developing, Not Evident): Provide qualitative descriptions of each level.
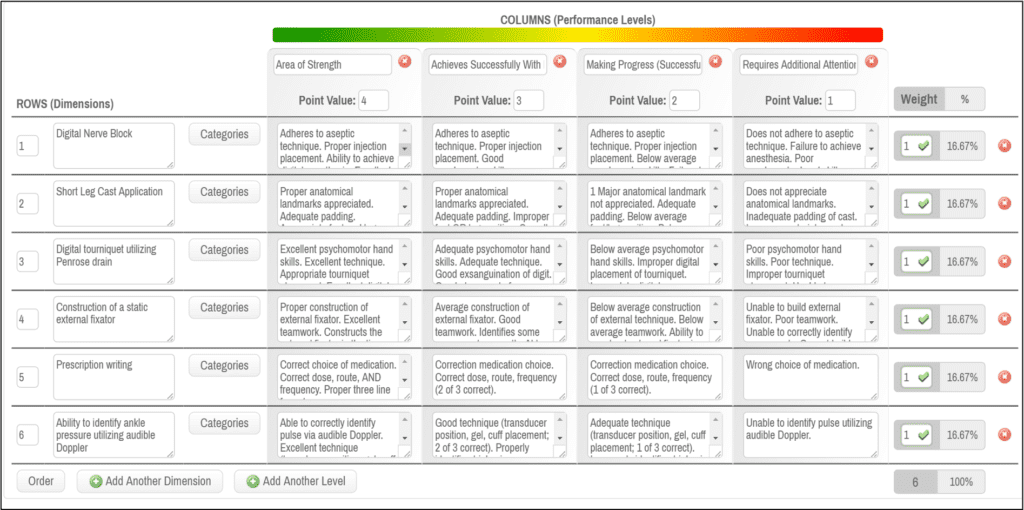
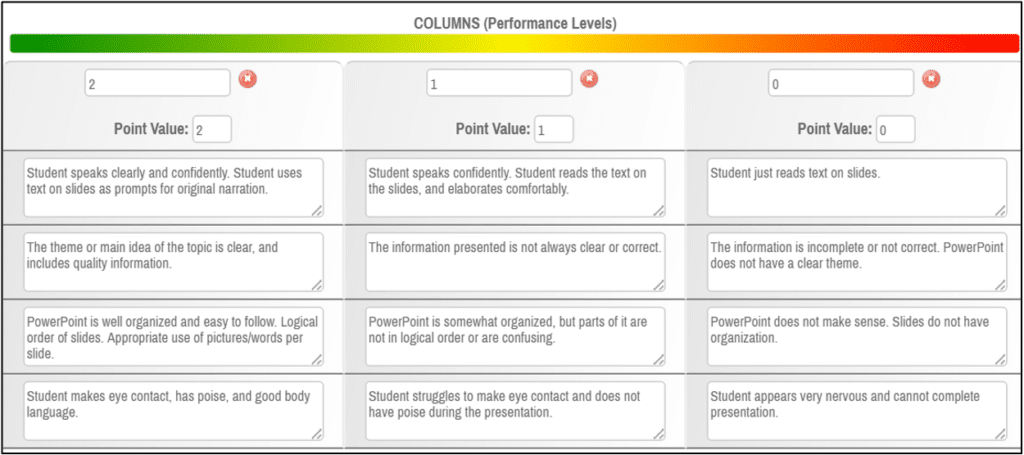
Step 5: Write Descriptions for Each Level
-
- For each criterion, describe what performance looks like at each level on the scale. Be clear and specific to avoid ambiguity.
Step 6: Organize the Rubric
-
- Arrange the criteria and corresponding levels in a logical order. Typically, criteria should be listed in a way that makes sense for the task.
Step 7: Test the Rubric
-
- Evaluate a few sample projects or tasks using the rubric to ensure that they produce the expected results.
Step 8: Finalize the Rubric
-
- Create a clean and organized version of the rubric for distribution or use. You can use a table format or a graphic design tool to make it visually appealing.
Step 9: Provide Clear Instructions
-
- When using the rubric, provide clear instructions to those who will be assessed. Explain how it will be used and how scores will be determined.
Step 10: Use and Review
-
- Apply the rubric consistently to assess tasks or projects. Periodically review the rubric to ensure it remains relevant and effective.
Remember, a well-designed rubric is clear, specific, and aligned with the goals of the assessment. It should make the evaluation process fair and transparent for both assessors and those being assessed.
Comment below on how you’ve used rubrics to assess your students’ performance in the classroom or clinical settings.
Additional Resources:
Carnegie Melon University Eberly Center for Teaching Excellence & Educational Innovationhttps://www.cmu.edu/teaching/assessment/assesslearning/rubrics.html
Yale Center for Teaching and Learning https://poorvucenter.yale.edu/Rubrics